

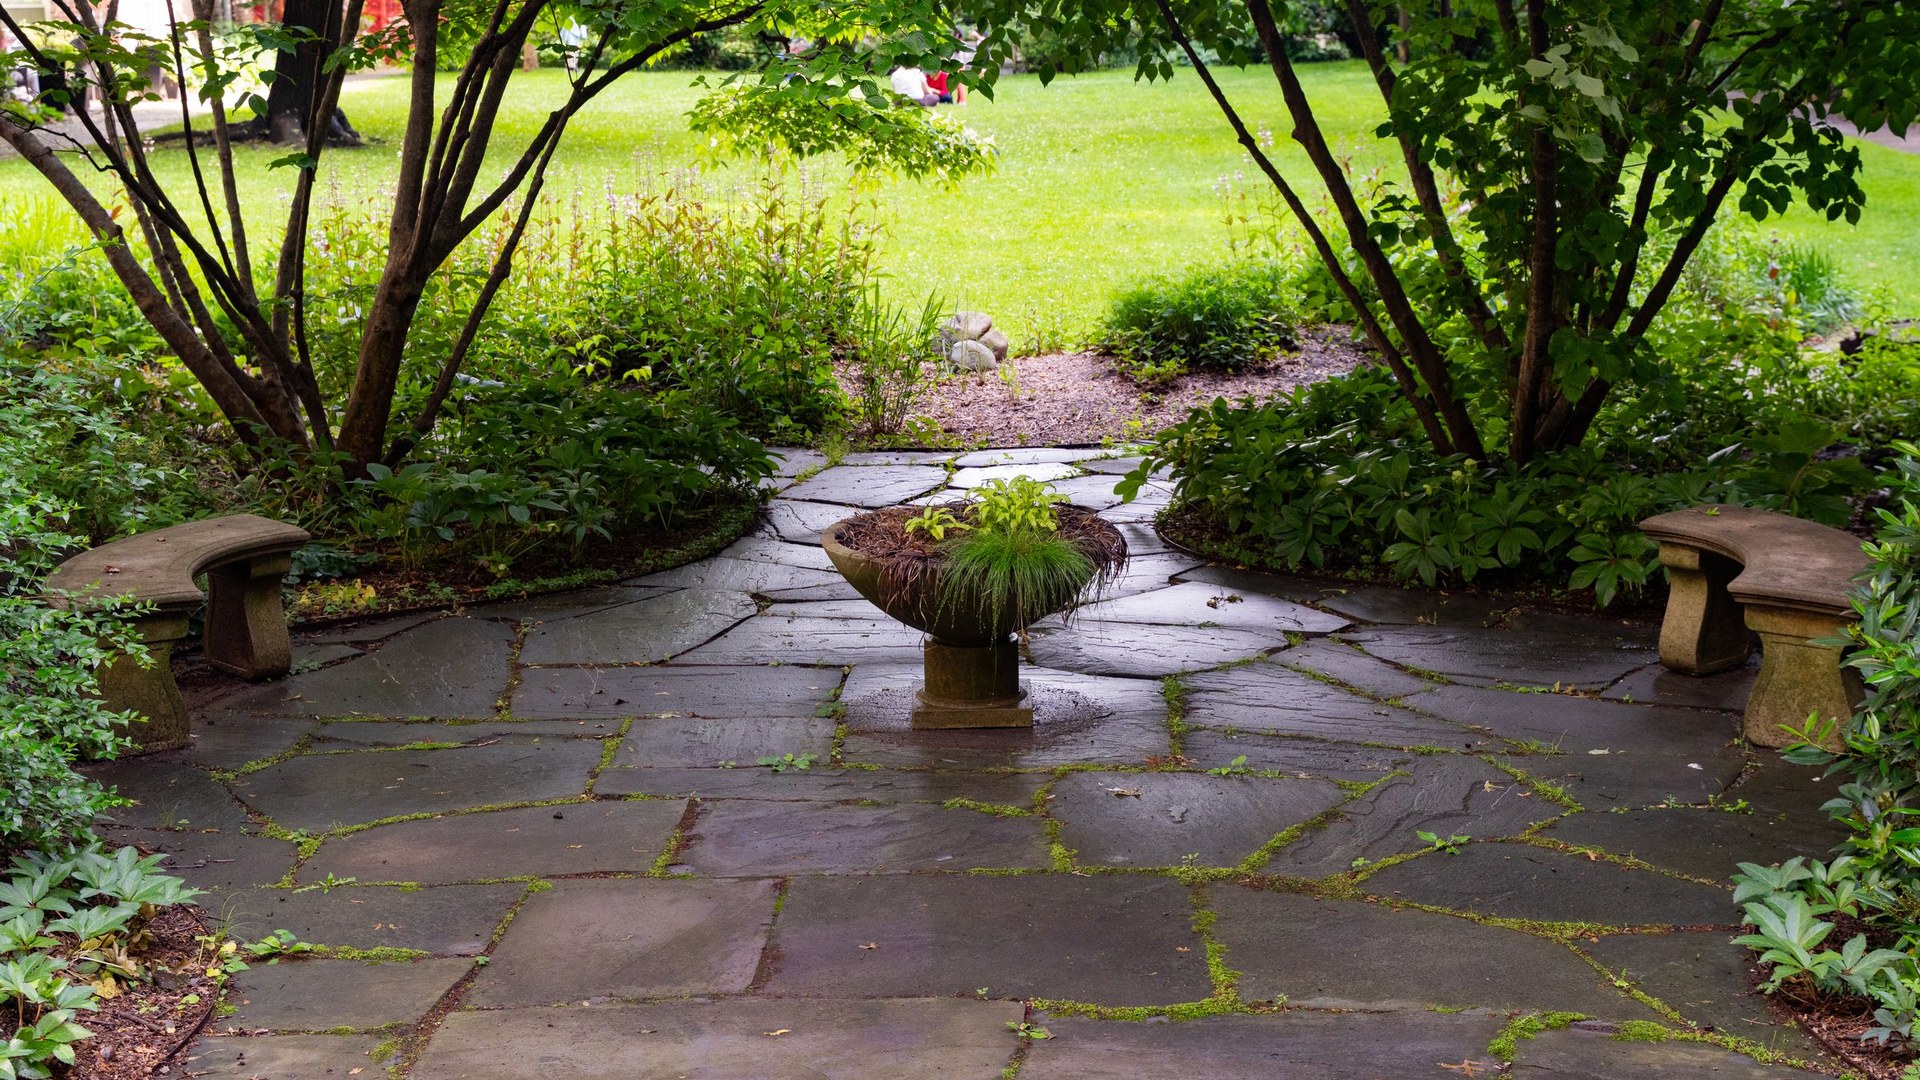
A paver overlay is a layer of pavers set on top of an existing concrete slab, using a thin sand bed, a dry bonding mix, or mortar instead of a fresh gravel base. It turns a tired patio or walkway into a new surface without breaking out the old concrete. On the right slab, that is a genuine shortcut. On the wrong slab, it is money buried under a pretty surface, because every crack, dip, and drainage flaw below shows up again in the pavers above.
So can you put pavers over concrete? Yes, when the slab is sound, drains away from the house, and has room for the extra height. If the slab is sinking, heaving, badly cracked, or holding water, the honest answer is no, and tearing it out costs less in the end than covering it twice.
Last updated: November 6, 2026
Contents
- Can You Put Pavers Over Concrete?
- When a Paver Overlay Works and When It Fails
- How to Judge Your Existing Slab
- What an Overlay Adds in Height
- Four Ways to Set Pavers Over Concrete
- Drainage: The Part That Decides Whether It Lasts
- Overlay or Tear Out? How to Make the Call
- Should You DIY It or Hire a Pro?
- Mistakes That Ruin a Paver Overlay
- Frequently Asked Questions
- Sources
Can You Put Pavers Over Concrete?
Yes, you can put pavers over concrete when the slab underneath is structurally sound, stable, and already draining away from the house. A paver overlay uses the old slab as its base, so you skip excavation, gravel, and disposal. Hairline cracks and faded color are fine, but wide cracks, rocking sections, and standing water are not, and no bedding method fixes those.
That short answer is where most guides stop. The useful part is the inspection that comes before it, so spend an hour judging the slab first. Skip that hour, and you may learn the slab was moving only after the pavers start rocking next spring.
When a Paver Overlay Works and When It Fails
A paver overlay works when the problem is the surface, not the slab. It fails when the problem is the slab itself. The table below is the whole decision in one place. If your slab lands in the right column on even one row, stop and fix that problem first, or plan on tearing the slab out.
| Slab condition | Overlay works | Overlay fails |
|---|---|---|
| Stability | Slab feels solid underfoot, no rocking or hollow spots | Sections rock, sink, or lift |
| Cracks | Hairline cracks only, old and stable | Cracks wider than a finger, growing, or uneven |
| Slope and drainage | Water runs off the slab and away from the house | Water ponds on the slab or runs toward the house |
| Surface | Mostly level, sound concrete | Large dips, crumbling edges, or spalled patches |
| Height | Doors, steps, and drains can absorb 2 to 3 inches | The finished level would sit above a door threshold |
| Use | Patios, walkways, pool decks, light-use areas | Heavy vehicle traffic on a slab never built for it |
Unilock’s overlay guide puts it plainly: hairline cracks and light cosmetic wear are fine, but wide gaps, heaving, or sections that rock mean ground movement, and a full rebuild on a compacted stone base is the better path. Civil Engineering Daily makes the same point, calling pavers a surface upgrade, not a structural repair. If the concrete is moving, fix the cause first, because the pavers will only hide it for a season.
How to Judge Your Existing Slab
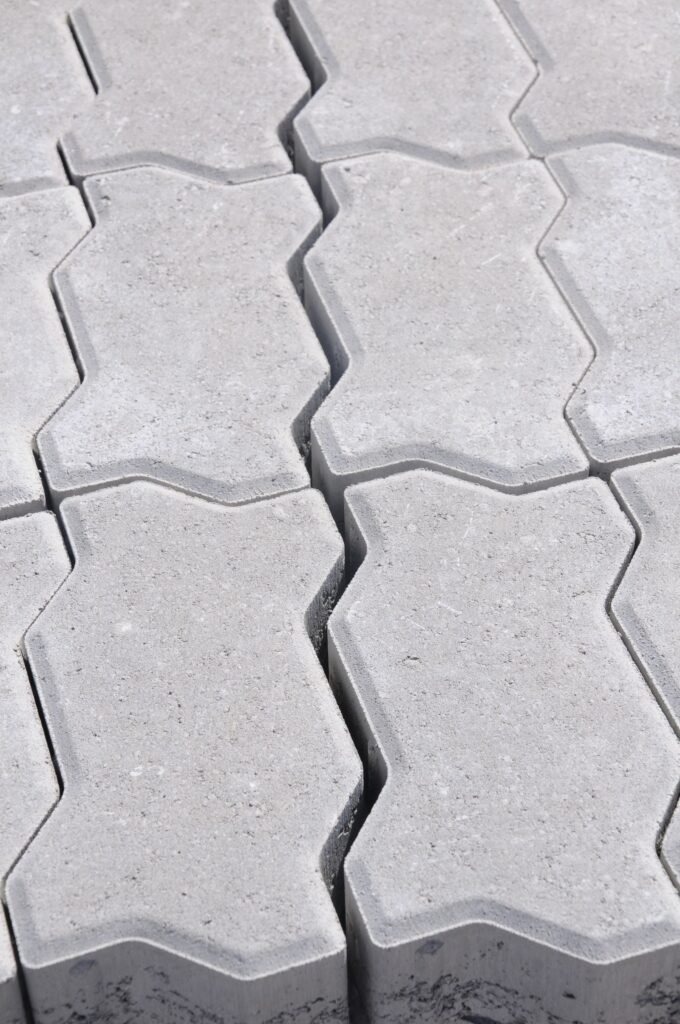
Do not judge a slab from the back door. Walk it, tap it, and watch water on it. The checks below take about an hour, need only a level, a tape measure, a hammer, and a garden hose, and they catch nearly every slab that should not be covered. Write down what you find, because the pattern matters more than any single crack.
- Walk the whole slab slowly. Feel for rocking, hollow spots, and dips under your feet. Any section that moves, even slightly, is a fail, because movement under pavers becomes rocking pavers.
- Tap the concrete with a hammer. Solid concrete gives a sharp, hard sound. A dull, hollow thud points to a void underneath, where soil has washed out or settled. Mark hollow areas with chalk.
- Map every crack. Hairline cracks, the kind you can barely fit a fingernail into, are normal in old concrete and rarely matter. Watch for the ones that do: wide enough to fit a coin edge into, running across the whole slab, one side higher than the other, or still growing. A crack that is still growing is an active crack, and active cracks get covered by nothing.
- Check the slope with a level and a hose. Set a 4-foot level on the slab in several places, then wet the slab and watch where the water goes. It should sheet off and away from the house. Engineer Fix recommends a slope of about 1/4 inch per foot, roughly a 2 percent grade. If water sits in a low spot or runs back toward the house, the slab has a drainage problem that an overlay will inherit.
- Measure the height budget at every door, step, and drain. Note how much room sits between the slab and each door threshold, the top step, and any drain grate. The next section covers this in detail.
- Look at the edges and the soil around the slab. Crumbling edges, soil washed out from under the slab, and gaps where the slab has pulled away from the house all point to settlement or water trouble.
- Clean a test patch. Pressure wash a small area first. Our concrete cleaning guide walks through the process, and a clean patch shows the real surface: sound concrete, or flaking patches that will not hold a bond.
If the slab passes all seven checks, you have a real candidate for an overlay. If it fails one, decide whether that failure is fixable. A flat slab can sometimes gain drainage with weep holes and a free-draining bedding layer. A moving slab cannot be fixed by anything you put on top of it.
What an Overlay Adds in Height
Height is the quiet deal-breaker in this project. Everything else about an overlay can be fixed with the right method, but height is simple arithmetic. Standard pavers plus a bedding layer add roughly 2 to 3 inches to the finished surface, according to Engineer Fix. A 30 mm thin paver on a thin dry-mudset bed adds far less, about 1.5 inches, which is why thin pavers help where door clearance is tight. That extra height has to fit everywhere the patio meets the house, the steps, and the yard.
Work through this checklist with a tape measure before you order a single paver:
| Transition point | What to measure | What passes |
|---|---|---|
| Exterior doors | Slab to the bottom of the door threshold | Finished surface stays below the threshold, door swings free |
| House siding and sill | Slab to the siding or sill plate | Finished surface stays well below the siding |
| Top step | Slab to the top step nosing | The last step up stays even and safe |
| Garage threshold | Slab to the garage door opening | Finished surface clears the door |
| Drain grates and cleanouts | Height of grates and covers above the slab | Grates can be raised to the new finished level |
| Gates | Clearance under gates that swing over the slab | Gates still swing freely over the finished surface |
Belgard’s paver base guide makes the same point about doorsills: verify that the distance from the top of the slab to the doorsill will accommodate the paver and setting bed thickness before you start. If the numbers do not work, there are two real options. One is to use thinner pavers. A 30 mm thin paver on a thin dry-mudset bed can add as little as about 1.5 inches, which is sometimes enough to save a tight threshold. The other is to cut the concrete back near the transition and re-pour it lower, or grind the top of the slab down, as long as at least 4 inches of slab remains, per Belgard. If neither option fits, the slab has to come out, and no paver choice changes that. In freeze-thaw zones, leave margin for heave movement, since a threshold that clears by half an inch in July can bind in January if the slab lifts even slightly.
Four Ways to Set Pavers Over Concrete
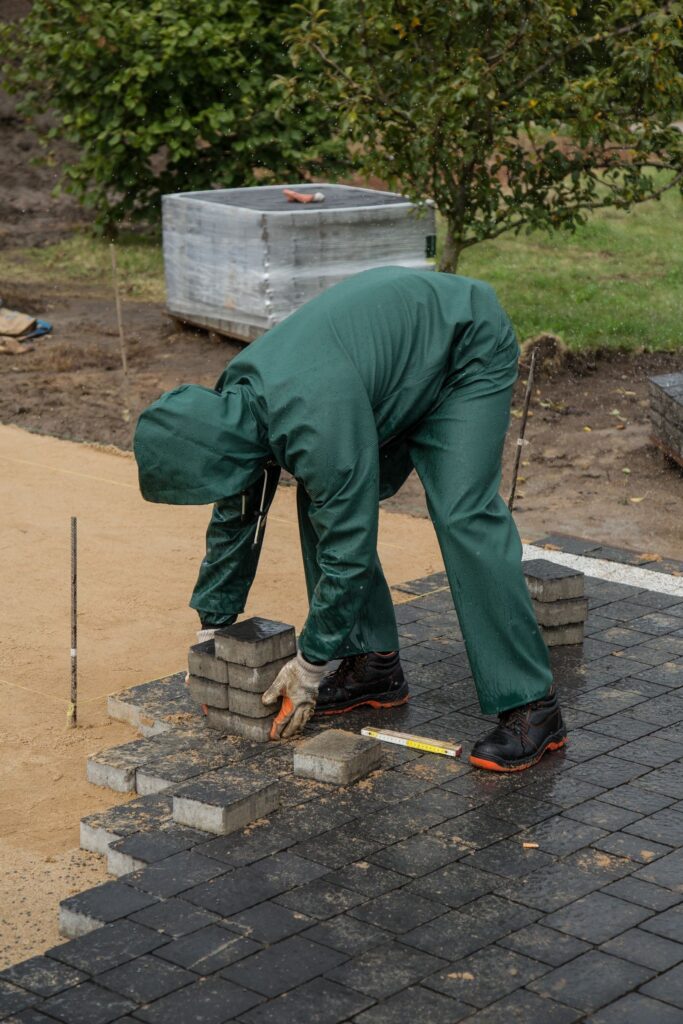
There is no single best method for an overlay. The right one depends on the slab, the traffic, and how much height you can spare. Belgard’s overlay guide describes three main methods, sand set, bituminous set, and mortar set, and a dry mudset bed and pedestal systems round out the practical options. Thin pavers are one option inside these methods, not a separate project. They save height, but they still need one of these setting beds underneath.
| Method | Setting layer | How it holds | Best for | Watch out for |
|---|---|---|---|---|
| Sand set | About 1 inch of washed bedding sand, screeded level | Pavers rest loose, locked by edge restraints and joint sand | Patios and walkways on a sound, well-drained slab | Water can sit in the sand if the slab cannot drain, so weep holes at low spots are required |
| Dry mudset | Dry bonding powder, 3/8 inch thick maximum, soaked with water after laying | Powder hardens and bonds pavers to the slab, like thinset for tile | Thin and porcelain pavers where height is tight | Needs a clean, sound slab, at least 4 inches thick and 4,000 psi |
| Mortar set | About 3/4 inch of latex-modified mortar as a setting bed | Pavers bond rigidly to the slab, joints filled with pointing mortar | Porches, steps, and thin units where a loose bed will not work | Not recommended in freeze-thaw climates with de-icing salts |
| Bituminous set | About 1 inch of sand mixed with a bituminous binder | Binder sticks pavers to the concrete, keeping some flexibility | Pedestrian and light vehicle areas | Needs the same drainage detailing as a sand set |
| Pedestal system | Adjustable pedestals lift pavers above the slab, no bedding layer | Pavers sit on pedestals, water drains in the gap underneath | Roof terraces and balconies | Adds the most height of any method |
Sand set is the most forgiving method and the easiest to repair, because a single paver can be lifted and reset. That is why it is the default for patios and walkways. Mortar set and dry mudset give a firmer surface, but a bonded paver is harder to replace, and a bonded surface moves with the slab. If the slab ever cracks through, a bonded overlay cracks with it, while a sand-set field can sometimes be lifted, the bedding re-leveled, and the pavers put back.
Edge restraints matter in every loose method. On a normal paver job, edging spikes into a gravel base. On concrete, there is no gravel to spike into, so the edging must be screwed to the slab with concrete fasteners, the border row mortared down, or a troweled concrete curb put in place. Unilock’s guide stresses mechanically fastened edging wherever the field is not confined by a wall or a step. Skip the edging and the outer rows will creep outward within a season.
For the full laying sequence, our complete guide to laying pavers covers the standard job in detail. The overlay version follows the same laying rhythm, but with the slab standing in for the gravel base.
Drainage: The Part That Decides Whether It Lasts
Ask a contractor what kills paver overlays and the answer is almost always the same: trapped water. A concrete slab does not drain. Water that seeps through the paver joints has nowhere to go, so it sits in the bedding layer, softens the sand, feeds weeds, and in cold weather can freeze and lift pavers. Unilock calls poor drainage the most common risk with pavers over concrete.
The fix starts before the first paver goes down. Confirm the slab already sheds water away from the house. If it does, a sand-set or bituminous-set overlay still needs weep holes drilled through the slab at low spots, so water in the bedding layer has an escape route. Belgard’s overlay guide is direct about this: drain holes are required at low spots to let water that seeps into the joints escape.
If the slab is flat or slopes toward the house, weep holes alone will not save it. That slab needs a drainage plan first, which can mean adding a linear channel drain along the low edge, or cutting the slab back and re-pouring a properly sloped section. A channel drain catches water running off the paver surface and carries it away from the foundation. This is the point where a do-it-yourself job often becomes a pro job, because grading and drains are hard to redo once pavers cover them. An overlay does not make the surface permeable, since the slab blocks water from soaking into the soil below, so do not let anyone sell it as a drainage solution.
Overlay or Tear Out? How to Make the Call
This is the decision the whole article leads to, so here it is plainly. An overlay saves the cost and mess of demolition, hauling, and a new gravel base. Tearing out costs more up front and gives you a clean slate: correct slope, correct base depth, correct drainage, and no hidden slab problems. The right choice depends on the slab, not on the budget alone, because the cheapest option that fails is the most expensive one.
| Factor | Overlay wins | Tear out wins |
|---|---|---|
| Slab condition | Sound, stable, hairline cracks only | Sinking, heaving, rocking, or wide uneven cracks |
| Drainage | Slab already slopes away from the house | Slab ponds water or slopes toward the house and cannot be corrected |
| Height | Doors, steps, and drains have room for 2 to 3 inches | Finished level would bury a threshold or a step |
| Base underneath | Slab is thick, at least 4 inches, and well supported | Slab is thin, hollow-sounding, or sitting on washed-out soil |
| Future plans | Surface is staying the same size and shape | Patio is growing or gaining a new use like vehicle traffic |
A brief word on money. An overlay usually costs less than a full tear-out and rebuild, because demolition, disposal, and new base material drop out of the job. That saving is real, but only on a sound slab. On a bad slab, the overlay buys a year or two of good looks, then the same movement and water problems come back, and the tear-out still has to happen, this time with pavers to remove as well. Get a quote for both options before you decide, and ask each contractor the same questions: will you check the slope, how will water escape, will the edges be restrained, what happens at the door thresholds, and are the cracks being repaired or simply covered. The answers tell you more than the price does. If you are still weighing materials, our stamped concrete vs pavers cost comparison runs the upfront and 10-year numbers side by side.
If you do tear out and rebuild, the new base is a chance to get everything right. Our paver base calculator helps estimate the gravel and bedding sand for the rebuild, so the quantities are settled before the work starts.
Should You DIY It or Hire a Pro?
A sand-set overlay on a small, sound, well-drained patio is a realistic do-it-yourself project for someone comfortable with a level, a saw, and a plate compactor. The steps are simple, the materials are forgiving, and a single paver can be lifted and reset if it sits wrong. If the slab is a driveway, wash it thoroughly first, following our driveway cleaning guide, so oil and grime do not end up sealed under the pavers. Cutting pavers to fit borders and curves is the fiddliest part, and our guide to how to cut pavers covers the wet saw, grinder, and splitter options.
Call a pro when any of these apply. The slab needs drainage work, weep holes, or a channel drain. The overlay is a driveway or carries vehicle traffic, where the method and the paver thickness need to match the load. The slab needs grinding, cutting, or partial re-pouring to fix the height. Or the job uses mortar set or bituminous set, where the working time is short and a mistake sets hard. A pro also earns their fee on the judgment calls: reading a crack, spotting a hollow slab, and telling you honestly when the slab should come out.
Safety notes are short but firm. Wear eye and ear protection when cutting pavers, and a dust mask or respirator when grinding concrete or cutting dry. Silica dust from concrete and pavers is a real health hazard, not a nuisance, so cut wet when you can and keep the dust down. If the job involves a gas line, a drain line, or a foundation wall, stop and get a pro or the utility marked before you drill or cut anything.
Mistakes That Ruin a Paver Overlay
Most failed overlays fail the same few ways. Covering a moving slab is the worst, because nothing on top of it can stay level. Skipping the drainage check shows up as weeds, stains, and rocking pavers within a year. Forgetting the height math shows up the first time a door will not swing. Skipping edge restraints opens wide joints at the borders. Using interior adhesive outdoors pops pavers loose after the first freeze, and bonded methods will not grip a dirty, oily, or flaking slab. One quieter mistake is choosing the paver before checking the slab: our guide to brick paver patterns is worth reading after the slab passes inspection, not before.
Frequently Asked Questions
Yes, when the slab is sound, stable, and draining away from the house. Hairline cracks and faded color are fine. Wide cracks, rocking sections, sinking corners, and standing water mean the slab should be repaired or removed first.
A standard overlay adds about 2 to 3 inches of finished height, counting the paver and the bedding layer. A thin paver on a dry-mudset bed can add as little as about 1.5 inches, which helps where door clearance is tight.
Most sand-set overlays use about a 1 inch layer of washed bedding sand, screeded level. Mortar-set and dry-mudset methods use a bonding layer instead of loose sand. Either way, water that seeps through the joints needs weep holes or a drain to escape, because the slab below does not drain.
Pavers themselves rarely crack on a sound slab, but an overlay can crack along the same line as a crack in the concrete below, especially with bonded methods. A sand-set field can sometimes be lifted and re-leveled, while a mortar-set surface moves with the slab.
Only if the cracks are hairline, old, and stable, with no height difference across them. Wide, growing, or uneven cracks point to movement in the soil or the slab, and covering them hides the problem without fixing it. Fill small stable cracks with a flexible concrete repair sealant first.
Yes, on any open edge. Without restraint, the outer rows creep outward and the joints open up. On concrete, edging is screwed to the slab with concrete fasteners, the border row is mortared down, or a troweled concrete curb holds the field. Walls and steps can confine the other sides.
Usually yes, because demolition, disposal, and new base material drop out of the job. The saving only holds on a sound slab. On a bad slab, the overlay can fail early and the tear-out still has to happen, this time with pavers to remove as well.
Sources
- Belgard, Installing Pavers Over Asphalt or Concrete
- Belgard, Installing the Best Paver Base for Concrete and Porcelain Pavers
- Unilock, Installing Pavers Over Existing Concrete Patio
- Engineer Fix, Can You Lay Pavers Over Concrete?
- Civil Engineering Daily, Patio Pavers on Concrete: Ideas and 7 Key Checks

1 Comment
Pingback: How to Lay Pavers: Complete DIY Installation Guide - Home Exterior Lab