

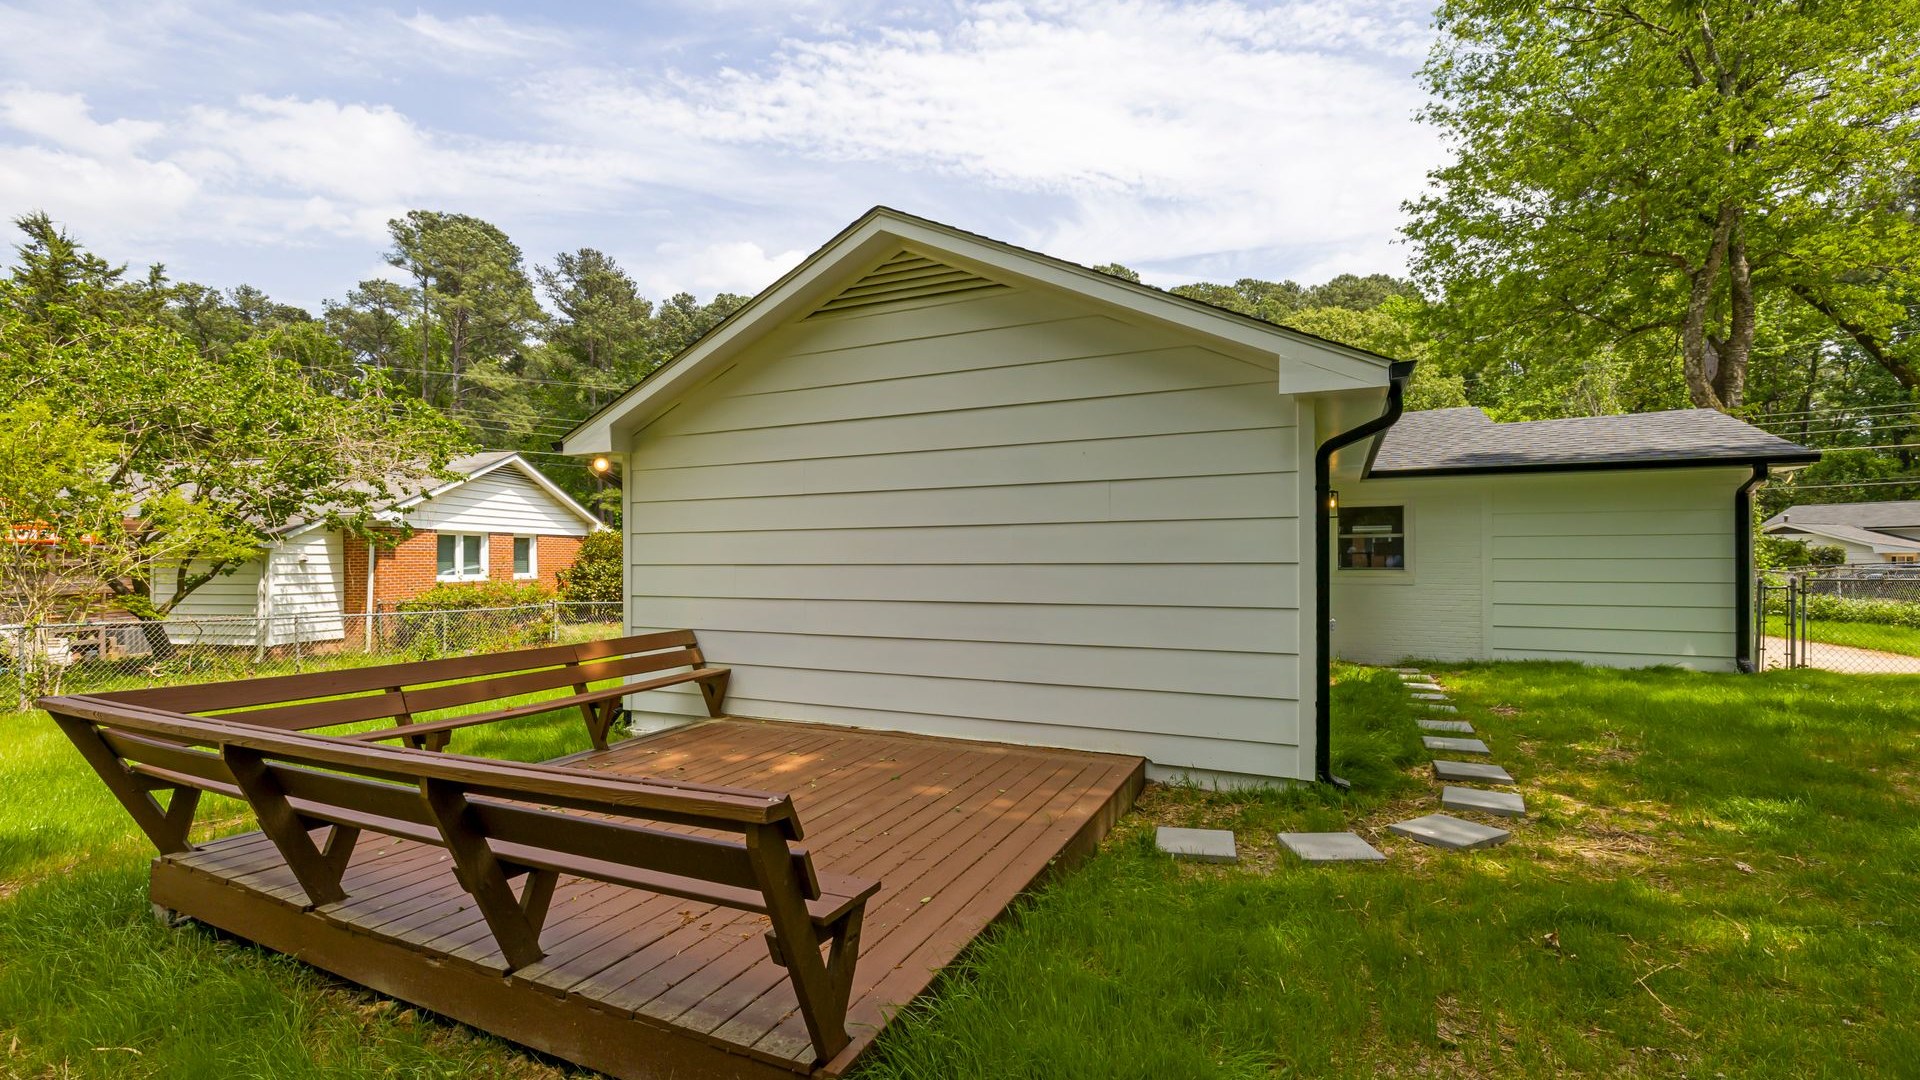
A wood deck stays safe and good-looking on three habits: inspect the frame once a year, clean the surface every season, and refresh the finish when water stops beading on the boards. Skip them and the finish wears thin, the surface grays and splinters, and rot finds the spots you never check, like the ledger board where the deck meets the house. This guide follows the order a careful owner would: inspect, clean, protect, then restore or replace.
What “Deck Maintenance” Actually Means
Strip away the brand names and deck care is three jobs. Inspection checks the structure for rot, loose fasteners, and failing connections. Cleaning removes the dirt, mildew, and trapped debris that hold moisture against the wood. Protection is a finish that slows water absorption and UV damage.
A water-repellent sealer is a clear or lightly tinted coating that soaks in and sheds water; it adds almost no color. A stain carries pigment: semi-transparent stains show the grain, solid stains hide it. A deck oil is a penetrating product, popular on dense hardwoods like ipe, that slows graying but needs frequent reapplication. The table below matches each finish to the right deck.
One thing to internalize early. The USDA Forest Service’s Forest Products Laboratory, which has studied exterior wood finishes for decades, is blunt: penetrating finishes are the right choice for deck walking surfaces, not film-forming finishes like paint or solid-color stain. Boards swell and shrink with every weather swing, so a film eventually cracks and peels, trapping moisture underneath. Penetrating finishes wear away gracefully instead, so recoating is clean-and-reapply, not scraping.
Your Deck Year at a Glance
Most deck owners do everything in one frantic spring weekend, then ignore the deck until something splinters. A calmer rhythm works better.
| Season | Core tasks | Why it matters |
|---|---|---|
| Spring | Full inspection (frame, ledger, fasteners, railings, stairs); sweep and clear board gaps; wash the surface; water-bead test on the finish | Winter moisture hides damage; spring is the best window for repairs and refinishing before heavy use |
| Summer | Sweep regularly; move planters and rugs so they do not trap moisture; spot-clean spills a nd mildew; trim shrubs for airflow | Heat, UV, and trapped moisture age the finish fastest in these months |
| Fall | Clear leaves and needles, especially from board gaps; final wash; tighten loose fasteners; check drainage around posts | Wet leaves hold moisture against the wood for weeks and stain the surface |
| Winter | Keep snow loads reasonable with a plastic shovel (never metal); keep the gaps between boards clear so meltwater drains | Freeze-thaw cycles punish waterlogged wood; heavy scraping damages the finish |
When fall is the seasonal cue, give the deck its turn and then walk the rest of the house with our fall exterior home maintenance checklist: gutters, roof, and drainage want the same attention before winter.
Nail the spring inspection and the other three seasons are mostly sweeping. That inspection is where decks are saved, so it comes first.
First, Know What Your Deck Is Made Of
Most US decks are pressure-treated lumber, usually southern yellow pine, forced full of preservatives that resist rot and insects. That treatment protects the inside of the board, not the surface: the wood still checks, grays, and soaks up water, so it still wants a water-repellent finish.
Cedar and redwood carry natural resistance to rot and insects in their heartwood. Cedar is pitch and resin free, which is why the Western Red Cedar Lumber Association notes it accepts and holds finishes so well. Both still gray in the sun without a pigmented finish, and both are soft enough to treat gently with a pressure washer.
Dense tropical hardwoods like ipe are usually maintained with penetrating oils rather than stains, which can sit on such dense wood and look blotchy. Composite and PVC decking needs no staining or sealing, but it is not maintenance-free: it still wants regular washing, and its frame is usually pressure-treated wood needing the same annual inspection as any wood deck.
The Annual Inspection: Start Underneath
Do this once each spring, thoroughly, with a flat-head screwdriver and a flashlight. Start below the deck, not on top: the surface tells you almost nothing about structural health. This walkthrough follows NADRA’s Check Your Deck checklist, published by the North American Deck and Railing Association each Deck Safety Month.
The ledger board. The horizontal board that ties the deck to the house. Ledger failure is the most common cause of deck collapse, per industry experience. It should be attached with lag screws or through-bolts, never just nails. Check the flashing, the metal or membrane that directs water away from the joint; water staining or debris packed there suggests the flashing has failed, and rot starts behind the siding where you cannot see it. A gap opening between the ledger and the house, or soft wood there, means stop using the deck for gatherings and call a professional.
Probe the wood. NADRA’s checklist suggests a simple test: push a screwdriver or ice pick into the wood in a few spots, especially near the ledger and anywhere that stays damp. If the point sinks in a quarter to a half inch with little resistance, or the wood feels spongy, you have decay. Small holes can mean insect activity. Sound wood resists the probe.
Fasteners and connectors. Pound down popped nails and tighten loose screws. Look hard at the metal: joist hangers, post bases, bolts. Light surface rust is one thing; flaking, pitting, or thinning metal needs replacement. Modern pressure-treated lumber corrodes ordinary steel faster than the old treatments did, so replacements should be hot-dipped galvanized, stainless steel, or rated for treated wood.
Joists, beams, and posts. Sight along beams for sag or bow, and check that beams join posts with proper metal hardware, not just toenails. Posts rot from the bottom up, right at or below grade, where moisture never leaves. A post can look fine from a foot up and be hollow at the base. Wood posts should never sit directly in soil or standing water; a metal post base that holds the post above its concrete footing and lets water drain is the right setup. Also check where your roof water goes: downspouts dumping runoff next to posts keep their bases permanently damp, which is how rot starts. See our guide to how far downspouts should drain from the house for the distances.
Railings and stairs. Push on every railing section: no rattle, no give. Railing posts must anchor into the frame, not just the decking boards. Balusters should be close enough that a four-inch sphere cannot pass between them, the rule that keeps small children from slipping through. On stairs, check that handrails are solid, treads are sound, and stringers are firmly attached top and bottom.
This is not a professional evaluation or a code inspection, but it catches the overwhelming majority of problems while they are still cheap. Anything soft, loose, or corroded at the ledger, at post bases, or in the main connections earns a call to a qualified deck contractor before the party season.
Cleaning Without Chewing Up the Wood
A deck that never gets cleaned grows a grime layer that holds moisture against the boards, and moisture is the beginning of every wood problem. But cleaning is also where well-meaning owners do the most damage, usually with a pressure washer set like they are stripping a driveway.
Start with the broom. Sweep the whole surface, then clear the gaps between boards with a putty knife or stiff brush. Trapped leaves act like a sponge against the board edges and joists, and airflow between boards is half of what keeps a deck dry. Move planters, rugs, and furniture first; anything sitting on the boards traps moisture and leaves pale outlines.
Pick the right cleaner. For routine dirt, a deck cleaner made for your wood type and a stiff-bristle brush is enough. For mildew, the Forest Products Laboratory’s deck guidance gives the old reliable recipe: liquid household bleach diluted with about three parts water, plus a little detergent, scrubbed in and rinsed well. Two cautions: never use a detergent containing ammonia with bleach, because the two react to form a toxic gas, and do not bleach a deck you plan to finish the same day. Oxygen bleach cleaners are the gentler alternative for cedar and redwood.
The pressure washer question. Yes, you can use one, but it should not be your first tool. Keep the pressure low, use a wide fan tip, hold the wand at a consistent distance, and keep it moving along the grain. Never stop the jet on one spot, and never use a pinpoint nozzle. Softwoods like cedar and redwood fur up fast under a hard jet: the Forest Products Laboratory specifically warns that aggressive scrubbing or power washing can remove wood from the surface, particularly on softer species. If your deck already has a gray, fuzzy layer from a past over-enthusiastic washing, that fuzz is torn wood fiber and needs sanding or brushing off before you refinish. Our comparison of soft washing vs. pressure washing by surface covers pressure settings and nozzle choices in more detail, and the surface-by-surface exterior cleaning guide covers the wash routine for the rest of the house while you are at it.
Drying time matters. After any wet cleaning, give the deck a couple of warm, breezy days before you apply finish; staining damp wood traps moisture under the coating, which leads to peeling. If rain is forecast within a day or two of your finish day, wait. Gray decks are a separate, easy fix: the gray is a millimeter or two of UV-weathered fiber, and deck cleaners and brighteners lift it without adding color. The FPL notes those fibers take stain well, so skip aggressive sanding.
Protecting It: Stain, Sealer, or Oil
Protection is the part everyone thinks of as deck maintenance, and the part most worth doing on schedule. Unfinished wood checks and cracks as it cycles through wet and dry, and the FPL’s finishes guide makes the striking claim that most decks are retired because of cracks and checks that timely finishing would have prevented. The finish is not decoration first; it is the thing standing between the wood and the weather.
| Finish | What it is | Best for | Recoat rhythm | Watch out for |
|---|---|---|---|---|
| Clear water-repellent sealer | Soaks in, sheds water, almost no color | New pressure-treated decks; owners who like the natural look | Often yearly on exposed surfaces | No UV blockers, so the wood still grays; easiest finish to reapply |
| Semi-transparent stain | Penetrating stain with pigment; grain shows through | Cedar, redwood, and pressure-treated decks in full sun; the best all-rounder | Every few seasons, sooner in harsh sun | Apply only what the wood absorbs; lap marks if you stop mid-board |
| Solid-color stain | Opaque, film-forming; hides the grain | Older decks with cosmetic damage to hide; vertical surfaces like railings | Longer between recoats, but a bigger job when it fails | Acts like paint on walking surfaces: it can peel and trap moisture |
| Penetrating deck oil | Oil that soaks in, no real film | Dense hardwoods like ipe; owners who accept frequent upkeep | Once or twice a season in sunny spots | Surface can stay tacky if over-applied; minimal UV protection in clear versions |
| Nothing (let it gray) | Weather naturally to silver | Cedar or redwood where the gray look is wanted and structure is sound | Occasional cleaning only | Still needs the structural inspection; graying is cosmetic, rot is not |
Reading that table: the FPL recommends starting with a water-repellent preservative if you are unsure, since you can move to a semi-transparent stain next cycle but not easily back. The Western Red Cedar Lumber Association adds that semi-transparent stains perform best on textured cedar, and that pigments are what shield the wood from UV. On railings the rules relax: vertical surfaces take less beating, so a solid stain or even paint can perform acceptably there, per the FPL.
New pressure-treated decks need patience. Fresh treated lumber is often too wet to take a finish well, and some carries a factory water-repellent treatment. The FPL’s advice: let it weather a few months before finishing so the wood opens up and absorbs properly. A full year opens the wood even more, at the cost of some surface checking in the meantime.
Application basics that decide the result. Work on a cool, cloudy day; hot sun flash-dries stain before it penetrates. Brush or pad application beats spraying alone, and if you spray, back-brush it in so the finish enters the wood. Apply thin coats, only what the surface will absorb; puddles become peeling later. Stain full board lengths without stopping to avoid lap marks, and coat the end grain generously, since unprotected board ends are where checking starts.
The water test tells you when. Splash some water on the boards. If it beads up, the repellent is still working. If it soaks straight in and darkens the wood, the protection is gone and it is time to clean and recoat. Run that test every spring on the sunniest section, which always wears first.
Restore It or Replace It
Every deck owner eventually faces this call: a gray patch, a soft board, a wobbly rail. Here is how to read the signs honestly.
| Restore it when | Replace it when |
|---|---|
| The wood is gray but solid under the screwdriver probe | The probe sinks in or the wood feels spongy (rot) |
| The finish is worn but the boards are flat and fast | Boards are cupped, crowned, or split through, or rock underfoot |
| Fasteners are popped or surface-rusty but the framing is sound | Connectors are flaking, pitted, or thinned by corrosion, especially at the ledger and post bases |
| A board or two is damaged but the neighbors are fine | Damage runs along the ledger, beams, or multiple posts |
| Railings are weathered but posts are anchored solid to the frame | Railing posts move, or anchor only to the decking boards |
Restoration means cleaning, repairs, and a fresh finish. Replacement means new boards or framing members, and for anything structural, a professional’s eyes before you commit. A deck with sound framing and tired boards is a refinishing project. A deck with a soft ledger or rotting post bases is a structural project, and no amount of stain changes that.
One judgment call owners get wrong: the pretty surface. I have seen decks with immaculate stain jobs and quietly rotting frames, because the owner maintained what they could see. The finish protects the surface; only the inspection protects the structure. Do it first, every year, even when the deck looks great.
When to Do It Yourself, When to Call a Pro
Do it yourself when the deck is structurally sound and the work is surface work: sweeping, washing, sanding splinters, resetting popped fasteners, and applying stain or sealer to a deck you can reach comfortably. A single-level deck with solid framing is a satisfying weekend project, and penetrating finishes are forgiving to apply.
Call a pro when the inspection turns up anything structural: a soft ledger, corroded connectors, sagging beams, rotting post bases, railings that move, or rot across multiple framing members. Also call one when the deck is high off the ground and the worst work needs ladders and staging. A good deck contractor will walk the frame with you and tell you straight which category you are in. For a cleaning-only visit, it pays to understand the deck cleaning cost factors that move a pro quote before you book.
A Few Safety Notes, Plainly
Exterior work has a short list of real hazards, all avoidable. Never mix bleach with ammonia-based cleaners; the gas is genuinely dangerous. Wear eye protection and gloves when scrubbing with cleaners, and a dust mask when sanding. Keep the pressure washer wand away from people and pets, and never point it at your own feet. On ladders, keep your footing stable and do not overreach. Keep grills and fire pits on a non-combustible pad away from the wood, per the manufacturer’s instructions.
Frequently Asked Questions
How often should I stain my wood deck?
Plan on every two to three years for a semi-transparent stain in average sun, sooner where the sun bakes all afternoon. Clear sealers wear faster, often needing attention yearly on exposed surfaces. The honest trigger is not the calendar but the water test: when splashed water soaks in instead of beading, the protection is gone. For timing, see our full answer to how often you should stain a wood deck, which covers the water-bead test and stain-type timelines.
Can I pressure wash my wood deck?
Yes, but gently. Use a wide fan tip, low pressure, and keep the wand moving with the grain. Never use a pinpoint nozzle or hold the jet in one spot. Softwoods like cedar and redwood damage easily, and the fuzz left by an aggressive wash has to be sanded off before refinishing. A brush and deck cleaner is the safer default.
How do I know when my deck is unsafe?
The red flags are structural, not cosmetic: a screwdriver that sinks into the ledger board or posts, visible gaps between the ledger and the house, flaking or thinning metal connectors, railings that move when pushed, and posts that feel soft at ground level. Any of those means limiting use and calling a professional before the next gathering.
What is the difference between a deck sealer and a deck stain?
A sealer is a clear or lightly tinted water repellent that soaks in and sheds water without changing the wood’s color much. A stain adds pigment: semi-transparent shows the grain, solid hides it. Pigment is also UV protection, which is why stained decks keep their color longer.
My deck turned gray. Can I get the color back?
Usually, yes. The gray is a thin weathered layer, and deck cleaners and brighteners remove it to reveal the sound wood underneath. Clean it, let it dry for a couple of days, and apply a finish. Do not sand aggressively to chase the last of the gray; you will only thin the boards.
Can I paint my deck instead of staining it?
You can, but the wood science argues against it for walking surfaces. Deck boards swell and shrink constantly, and a paint film eventually cracks and peels, trapping moisture underneath. Penetrating stains wear away instead of peeling, so the next recoat is cleaning and reapplication rather than scraping. Paint is a reasonable choice for railings and other vertical surfaces.
Do composite decks need maintenance?
Less, but not none. Composite and PVC decking never needs staining or sealing, but it still needs regular washing to prevent mildew and grime buildup, and the frame underneath is usually pressure-treated wood that needs the same annual structural inspection as any wood deck.
Sources
Everything below is something I actually read while researching this article.
- USDA Forest Service, Forest Products Laboratory, Finishes for Wood Decks (Mark Knaebe, revised July 2013). Penetrating vs. film-forming finishes; water-repellent service life; end-grain treatment; weathering new treated lumber; cleaners and brighteners; mildew removal and the ammonia warning; drying time; preventable cracking. FPL guide to finishes for wood decks
- USDA Forest Service, Forest Products Laboratory, Wood Handbook, Chapter 16, “Finishing Wood” (FPL-GTR-282). Penetrating finishes recommended for decks; end grain far more porous than side grain; applying only what the surface absorbs. FPL Wood Handbook chapter on finishing wood
- Decksforlife and the North American Deck and Railing Association, Deck Safety Month 2026 release, including the NADRA Check Your Deck consumer checklist. The ten-point homeowner checklist: decay probing, flashing, fasteners and connectors, railings, stairs, cleaning, lighting, grills, and nearby trees; ledger separation as the leading collapse cause; corrosion-resistant hardware for treated lumber. Decksforlife and NADRA Deck Safety Month 2026 announcement
- Western Red Cedar Lumber Association, “Proper Finishing of Cedar for Exteriors and Interiors” (CE Center course). Clear finishes and their short service life; oil-based semi-transparent stains for exposed cedar, best on textured surfaces; latex stains forming a flake-prone film; solid-color stains; corrosion-proof fasteners. WRCLA guide to finishing cedar

4 Comments
Pingback: How Often to Stain a Deck: A Realistic Restain Schedule
Pingback: Why Are My Deck Boards Cupping? Causes & Fixes | Home Exterior Lab
Pingback: How to Identify Green Growth on a Deck | Home Exterior Lab
Pingback: Deck Cleaning Cost Factors: What Changes the Price? (2026)