

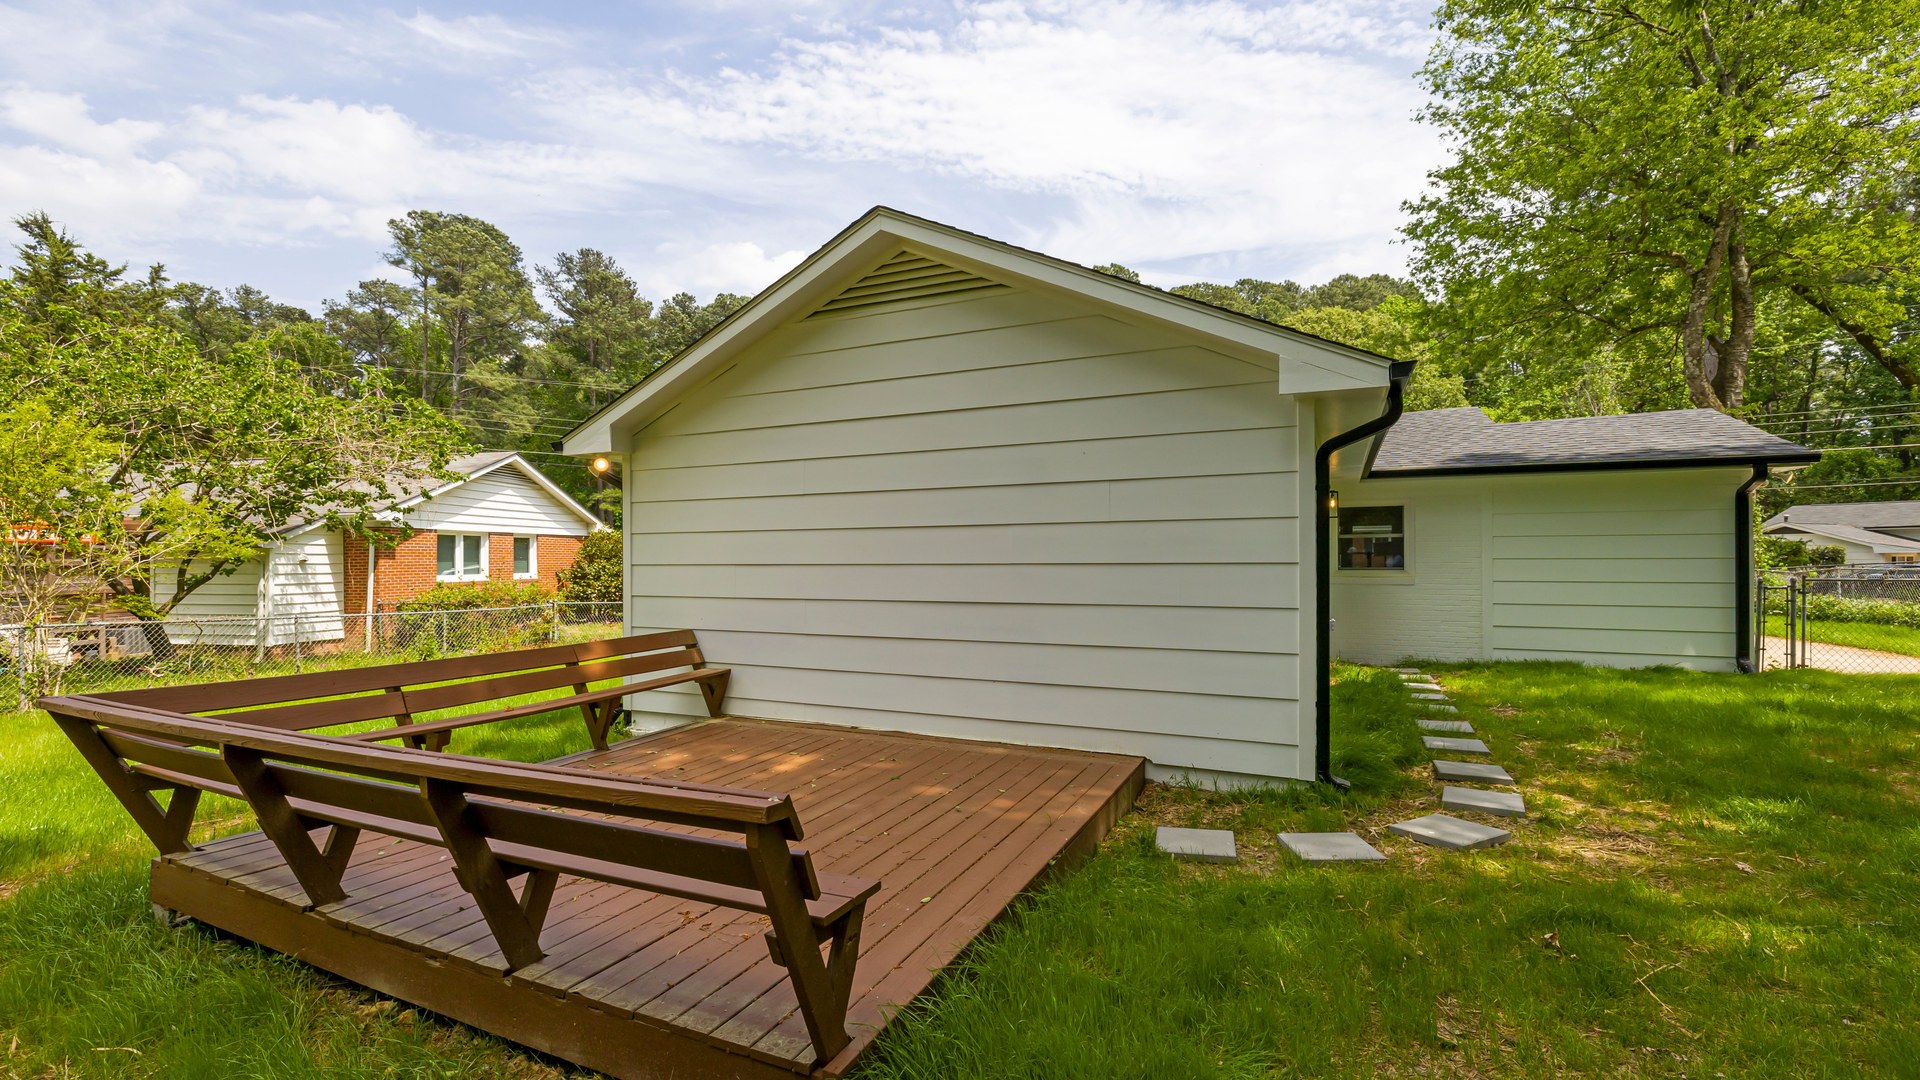
Cupping is what happens when a deck board bends across its width so the edges sit higher than the middle, turning the board into a shallow trough. The board is not defective. One face is simply wetter than the other, the two faces shrink at different rates, and the wood bends toward the drier side. Most cupping on a home deck is cosmetic at first and fixable. Some of it is a sign the board is done. The difference comes down to how bad the cup is, whether the wood is still sound, and whether the moisture imbalance behind it is still active.
Cupping, crowning, and the other ways boards bend
Not every bent board is cupping, and the fix depends on which bend you have. Walk the deck and sort what you see against this list.
| Shape | What it looks like | What it usually means | What it tends to need |
|---|---|---|---|
| Cupping | Edges curl up, middle sits low, like a shallow bowl. Water pools on the board after rain. | The top face dried faster than the underside, or the board dried toward its bark side. This is the classic moisture-gradient bend. | Mild cases can be re-fastened or flipped. Deep troughs that hold water usually get replaced. |
| Crowning | The reverse: middle arches up, edges sit low, like a low rainbow. Water sheds off. | The same moisture physics running the other direction, or a board that settled bark-side-down. | Usually nothing. Crowns drain, which is what you want. |
| Bowing | The board bends along its length, like a banana lying flat. | Long spans between supports, failing fasteners, or a board that was stored badly before installation. | Re-fasten along its length. If it springs back, replace it. |
| Twisting | The four corners no longer sit in the same plane. One corner lifts. | Spiral or irregular grain plus moisture cycling. Fasteners lost the fight. | Hard to correct in place. Replacement is the honest answer most of the time. |
| Checking | Lengthwise cracks on the surface, usually along the grain. | Sun and weather cycling. Shallow checks are cosmetic. | Seal them with finish. Deep cracks that go through the board mean replacement. |
The one that matters for this article is the first row. If your boards look like troughs and hold water, keep reading.
Three tests before you touch a tool
You can sort most cupping cases with your eyes and two cheap tools. Do these before deciding anything.
1. The straightedge test
Lay a level, a straight 2×4 on edge, or any known-straight bar across the width of the worst board. If daylight shows under the middle, the board is cupping. The size of that gap is your severity gauge. A faint shadow you can barely see is cosmetic. A gap you could slide a finger under is structural and a trip risk, and it is already deep enough to hold a puddle. NC State Extension’s wood-products specialists call that gap the valley-to-peak distance, and it is the standard way to measure how far a board has gone.
2. The screwdriver test
Press the tip of a screwdriver into the worst boards, especially near the curled edges and at the board ends. Sound wood pushes back. Soft, spongy wood that lets the tip sink means rot has started, and a rotting board does not get repaired. It gets replaced, and so does anything it is sitting on that has gone soft too.
3. The two-face moisture test
If you own a pin moisture meter, take a reading on the top face and another on the underside of the same board. Boards in service eventually settle toward even moisture across their thickness, so a big difference between the two faces tells you the board is still in an active moisture fight. That matters because a board you flatten today will cup again if the imbalance behind it is still running.
Why it happens: the short version of the wood science
Wood is always trading moisture with the air around it. Below about 30 percent moisture content, wood starts to shrink as it dries, and it does not shrink evenly: shrinkage along the growth rings runs roughly twice the shrinkage across them. NC State Extension’s researchers explain that this uneven shrinkage is what distorts a drying board, and flat-sawn boards, the kind most deck lumber is, show it the most.
On a deck, that physics gets a daily workout. Sun warms the top face, the surface dries and shrinks while the wood beneath stays damp. Then rain wets the surface while the core stays dry. The USDA Forest Products Laboratory’s finishing researchers describe exactly this cycle and note that the internal stress from differential moisture causes checks, cracks, warping, and cupping, with horizontal surfaces like decks taking the worst of it. Darker stains make it worse, since dark finishes absorb more solar heat.
That top-versus-bottom imbalance is the main driver, but several things make it better or worse:
Airflow under the deck. A deck built close to the ground, skirted tight, or sitting over soil that stays damp keeps its underside humid while the top bakes. The bigger the gap between the two faces, the harder the board bends. Low decks with no breathing room are the worst offenders I have seen.
Which way the board went in. A flat-sawn board tends to cup toward its bark side as it dries. Look at the end grain: the growth rings arc like a rainbow, and the outside of that rainbow is the bark side. There is a long-running debate about orientation. InspectAPedia’s Daniel Friedman, who has documented cupping case by case for years, recommends bark-side-down for deck boards, because a board installed that way tends to arch its center upward as it dries instead of forming a water-holding trough. Some treated-wood installation guides still say bark-side-up, so you will hear both. Either way, orientation alone will not save a board whose underside never dries.
Finish on one side only. A sealer or stain slows moisture movement but does not stop it, and coating only the top face can actually make the imbalance worse, because the sealed face and the raw underside now respond to weather on different schedules. If you finish, finish all six sides of the board, faces, edges, and ends. The Forest Products Laboratory’s finishing chapter notes that end grain is enormously more porous than side grain, so board ends drink water and finish alike.
Fasteners. Nails work loose and let boards move through their moisture cycles. Screws hold. Boards that are only nailed, or fastened at too few points, are free to bend however the moisture tells them to.
The wood itself. Wide, flat-sawn boards cut from small logs cup more than narrow, vertical-grain ones. The Forest Products Laboratory notes that the tendency to cup climbs with the width-to-thickness ratio, so a wide 2×6 deck board is more cup-prone than a narrow one, all else equal. Pressure treatment protects against rot and insects. It does nothing to stop moisture movement.
Composite boards are a different story. Capped composite decking does not cup from moisture the way wood does. It moves with temperature instead. If a composite board is distorting, the cause is usually installation, tight gapping, or a framing problem rather than the board itself.
Fixes, from easiest to hardest
Work this list in order. Stop at the first fix that matches your board’s condition.
Re-fasten and give it time. For mild cupping in sound wood, drive deck screws through the raised edges into the joists below and let the board sit through a season of wet and dry cycles. Boards with a small moisture imbalance often settle once they are held flat. Use screws, not nails, put one on each side of the board at every joist, and pre-drill near the board ends so the screws do not split the wood. A split end is just a new doorway for water.
Flip the board. For a moderately cupped board, back the screws out and look at the underside. If it is sound, with no rot and no deep damage, flip the board so the convex side faces up and re-fasten it. Run your hand along the hidden face before it becomes the walking surface: pull any protruding nail points and knock down splinters with sandpaper. The new top face now dries in the sun while the old top face rests against the joists, and the moisture gradient reverses. Plenty of boards flatten out this way over a few months.
Sand the high spots. If the cup is shallow and the board is sound but the raised edges catch your feet, a belt sander takes them down. Keep the sander moving so you do not dish out one spot, wear eye protection and a dust mask, and seal the sanded wood afterward. Raw sanded wood drinks rain faster than the weathered surface around it.
Replace the worst boards. Deep troughs that hold water, edges high enough to trip on, and any board that failed the screwdriver test get replaced. Match the species and thickness of the existing decking. Before the new board goes in, seal all six sides, paying special attention to the cut ends.
Fix the cause, not just the board. New or flattened boards will cup again if nothing changes underneath. Clear leaves and debris from between and under the boards so air moves. Make sure the ground under a low deck drains instead of ponding. And check what is dumping water near the deck: a downspout or an overflowing gutter that soaks the area beside the deck keeps the underside damp for days after every rain.
Repair or replace: making the call
| What you found | The call |
|---|---|
| Shallow cup, wood sound, no puddling | Repair. Re-fasten with screws and watch it for a season. |
| Moderate cup, underside sound | Repair. Flip the board and re-fasten. |
| Raised edges that catch shoes, board still solid | Repair. Sand the high spots flat, then seal. |
| Screwdriver sinks in, or the board is spongy at the ends | Replace. Rot does not reverse. |
| Deep trough that holds water after every rain | Replace. A board that ponds water is rotting on a schedule. |
| Many boards cupping at once, underside stays damp | Fix the ventilation and drainage first, then decide board by board. Flattening boards over a wet crawlspace is a loop. |
| Cupping plus soft or sagging joists underneath | Call a pro. The problem is below the decking now. |
Keeping the rest of the deck flat
Whether you repaired or replaced, the habits that prevent the next round of cupping are the same:
- Let new lumber acclimate. Stack new boards with spacers between them so air circulates, out of direct sun, for a few days before fastening. Wood that is still equalizing when you screw it down will move afterward.
- Seal every side before installation. Faces, edges, and especially the cut ends. End grain absorbs finish and water far faster than the faces, and unsealed ends are where a lot of cupping starts.
- Leave a real gap between boards. A small, even space lets water drain through and air reach the board edges. Boards jammed tight trap moisture and move as one stressed sheet.
- Keep air moving underneath. Do not skirt a deck tight to the ground without ventilation, and clear out the leaves and debris that collect under there every year.
- Refresh the finish when water stops beading. A finish that has worn off is no longer slowing moisture exchange. Our wood deck maintenance guide walks through the full seasonal routine, including the inspection checklist and how to tell when the finish is done.
- Keep roof water away from the deck. Grade soil so it slopes away, and make sure gutters and downspouts carry roof runoff past the deck instead of dumping it beside it.
- Watch for puddles after heavy rain. Walk the deck once it has rained hard and look for boards holding water. Those are your early warnings. A board that ponds water is already on the path to rot, and catching it early is the difference between a screw gun and a saw.
Restain on schedule, not by guesswork: our guide on how often to stain a deck covers the water test and realistic timelines by stain type.
When to call a pro
Most cupping is a weekend job. It stops being one when the damage goes deeper than the decking. Call a contractor if the joists or the ledger board show rot, if the deck feels bouncy or sags, if stairs are involved, or if a large area cupped all at once, which usually means a drainage or ventilation problem bigger than a few boards.
A couple of safety notes while you are out there. If you pressure wash before refinishing, keep the tip back and the wand moving: close-up blasting on soft pine fuzzes the grain and opens the wood to more water, which is the opposite of what you want. The CDC’s pressure washer safety page is blunt that the spray can cause serious wounds that look minor at first, so follow the owner’s manual, wear eye protection, and never point the wand at yourself or anyone else. And skip the power planer unless you have real hours on one; a planer in inexperienced hands takes off fingers and board thickness with equal ease. A belt sander and patience get you there safely.
Quick answers
Can cupped deck boards be flattened?
Sometimes. Mild cupping in sound wood often relaxes after re-fastening with screws or after flipping the board so the moisture gradient reverses. Deep cups that have taken a permanent set, or boards with rot, will not flatten. Those get replaced.
Can I flip a cupped deck board?
Yes, if the underside is sound. Back out the fasteners, check the hidden face for rot or deep damage, flip the board convex-side-up, and re-fasten with screws. The board often settles flat over the following months as the new top face dries in the sun.
Does staining stop cupping?
No, but it slows it down. Stain and sealer reduce how fast moisture moves in and out of the wood, which softens the wet-dry cycling that drives cupping. They cannot reverse a cup that is already there, and staining only the top face can make the imbalance worse. Seal all six sides.
Why is only one board cupping?
Boards are individuals. Grain pattern, where the board was cut from the log, how much sun one spot gets, and whether one board’s underside sits over a damp patch all vary. One cupped board among flat ones usually points to that board’s grain or its local moisture exposure, not a deck-wide problem.
Is cupping covered under warranty?
For pressure-treated lumber, generally no. Treatment warranties cover rot and insect damage, not dimensional movement like cupping, which manufacturers treat as natural wood behavior. Composite decking warranties sometimes cover excessive warping, but the terms are narrow, so read the actual warranty document for your product.
Do composite deck boards cup?
Rarely in the way wood does. Composite moves mostly with temperature changes rather than moisture cycles. A distorting composite board usually traces back to installation: tight gapping, missing ventilation, or framing issues. Check the manufacturer’s installation guide before blaming the board.
Will cupping get worse if I ignore it?
Usually, yes, and gradually. Cupped boards hold water, and standing water grows algae, gets slippery, and speeds up rot. A shallow cup you could have re-fastened this year can become a board replacement in a couple of seasons.

2 Comments
Pingback: Wood Deck Maintenance: Inspect, Clean & Protect | Home Exterior Lab
Pingback: How to Identify Green Growth on a Deck | Home Exterior Lab